⚠️ Warning! You are about to purchase a Fusion 360 file that will allow you to perform reverse engineering on the enclosure I have designed.
🛑 This is NOT for everyone!
Before purchasing, make sure that you:
✔️ Have completed the 3D Design course.
✔️ Have completed at least 3-4 workshops in Fusion 360.
If you don’t meet these requirements, DO NOT buy this file! ❌ It will be useless to you, and I don’t want you to waste your time or money.
🎯 What’s Inside the File?
📂 The Fusion 360 file you will download includes:
✅ The complete timeline of the design.
✅ All the commands and the step-by-step process I followed.
✅ The entire design logic behind the preparation of the solid body.
✅ A detailed video where I explain exactly how I designed this object.
📌 Important: Just knowing Fusion 360 commands does not mean you know how to design.
Success in 3D design is not about memorizing commands, but about structuring your workflow properly and following a solid design strategy.
With this file, you are buying the workflow and the understanding of the design process – not just the file! 🏆
🚨 Terms & Restrictions
🔹 Strictly for personal use! You cannot sell, distribute, or use this file to train others.
🔹 No commercial use is allowed for this file or the designs derived from it.
🔹 Respecting these rules is the key to ensuring I continue creating high-quality files like this.
🏗️ The Steps of the Design Process
📌 1. Understanding the Idea
Before starting a design, you need to know what you are making and why!
📜 Write down your goals in a notebook or journal.
❌ We don’t design randomly without clear objectives!
📌 2. Creating Libraries 📚
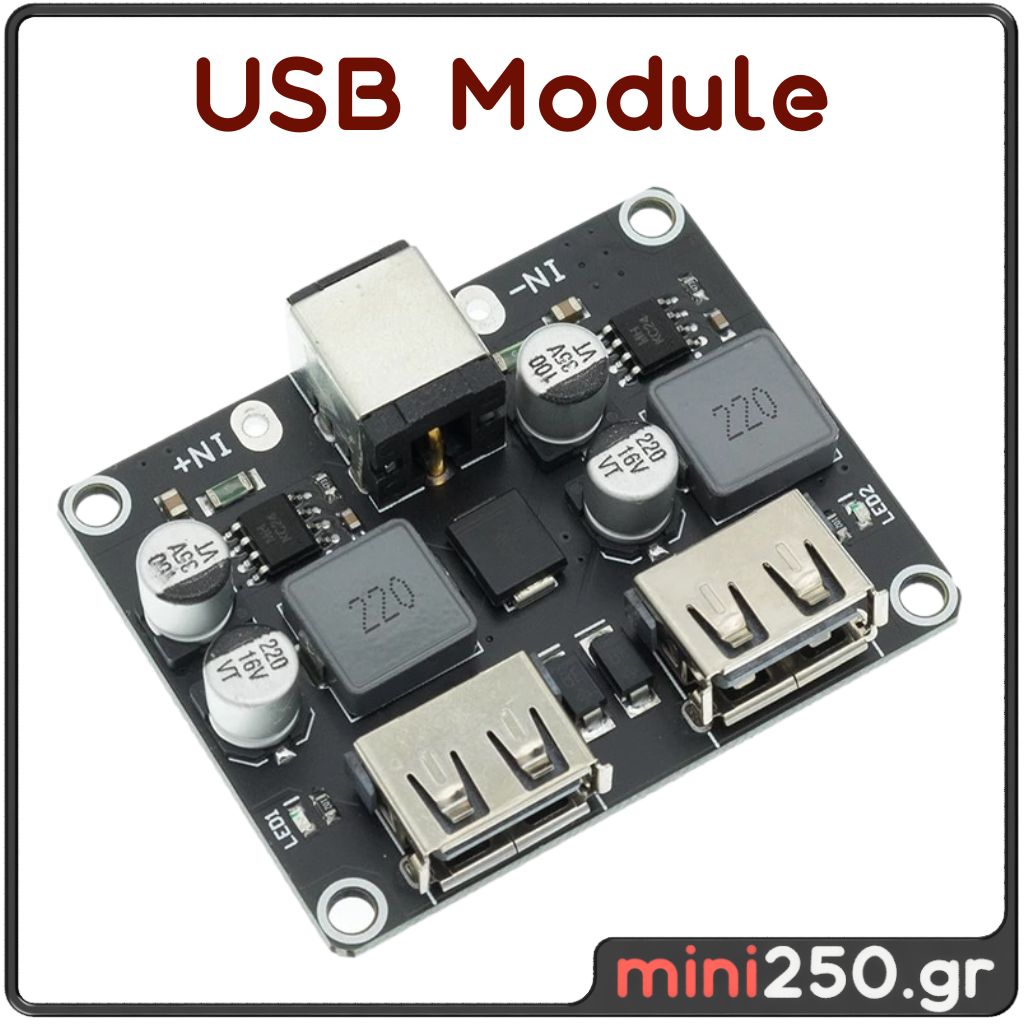
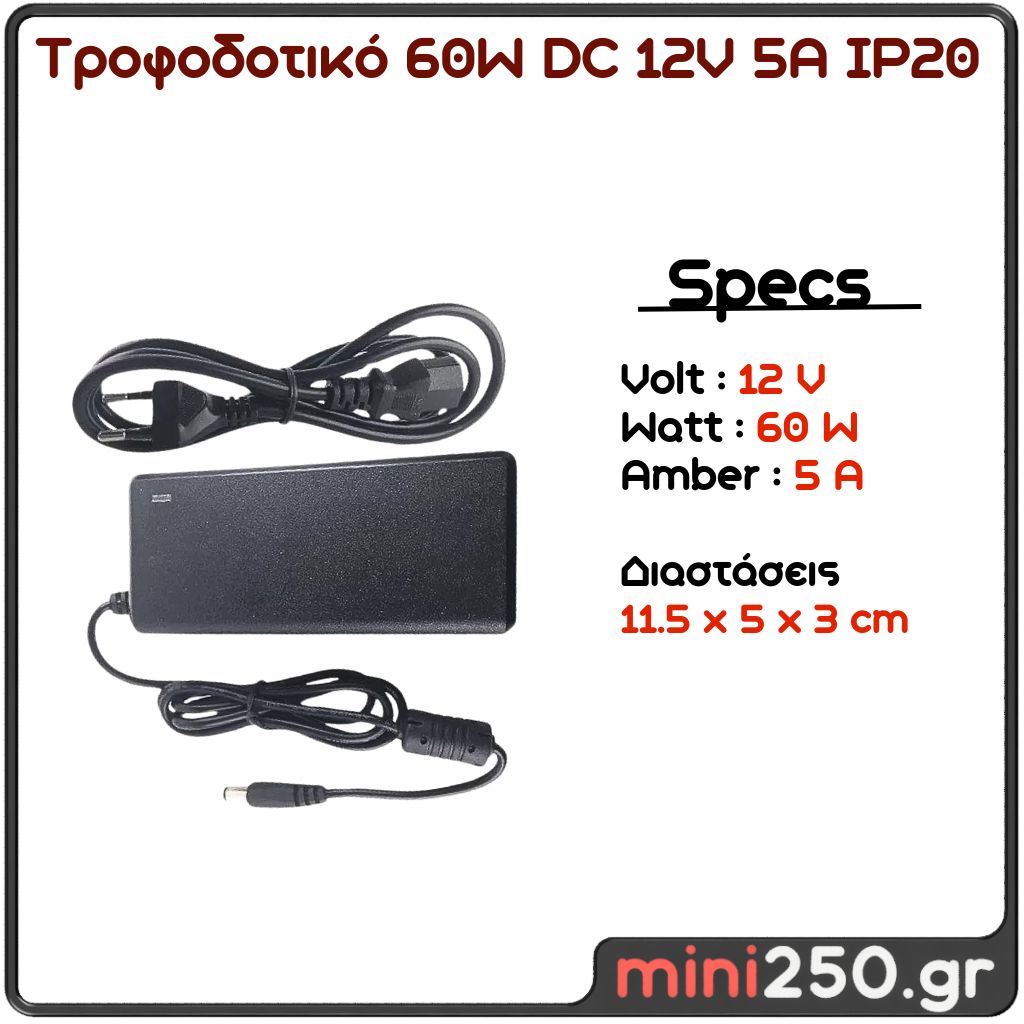
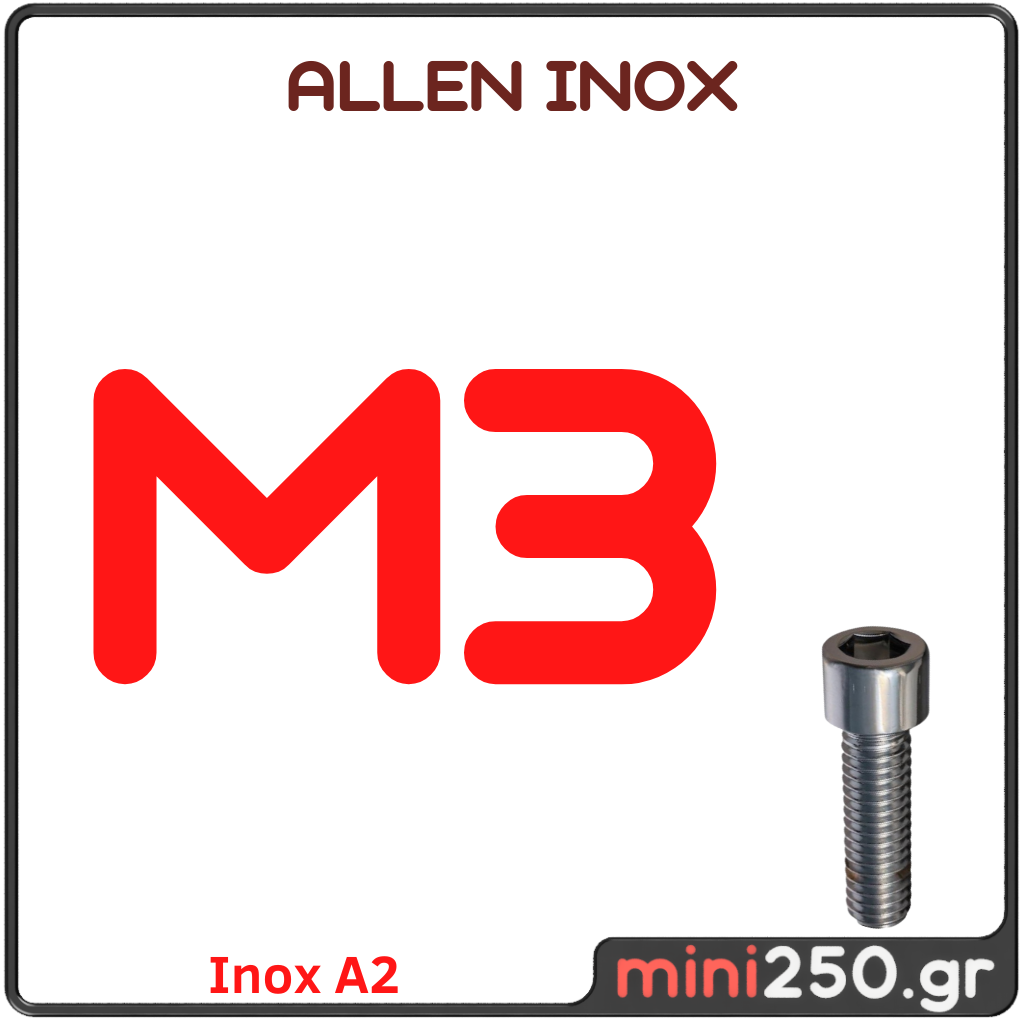
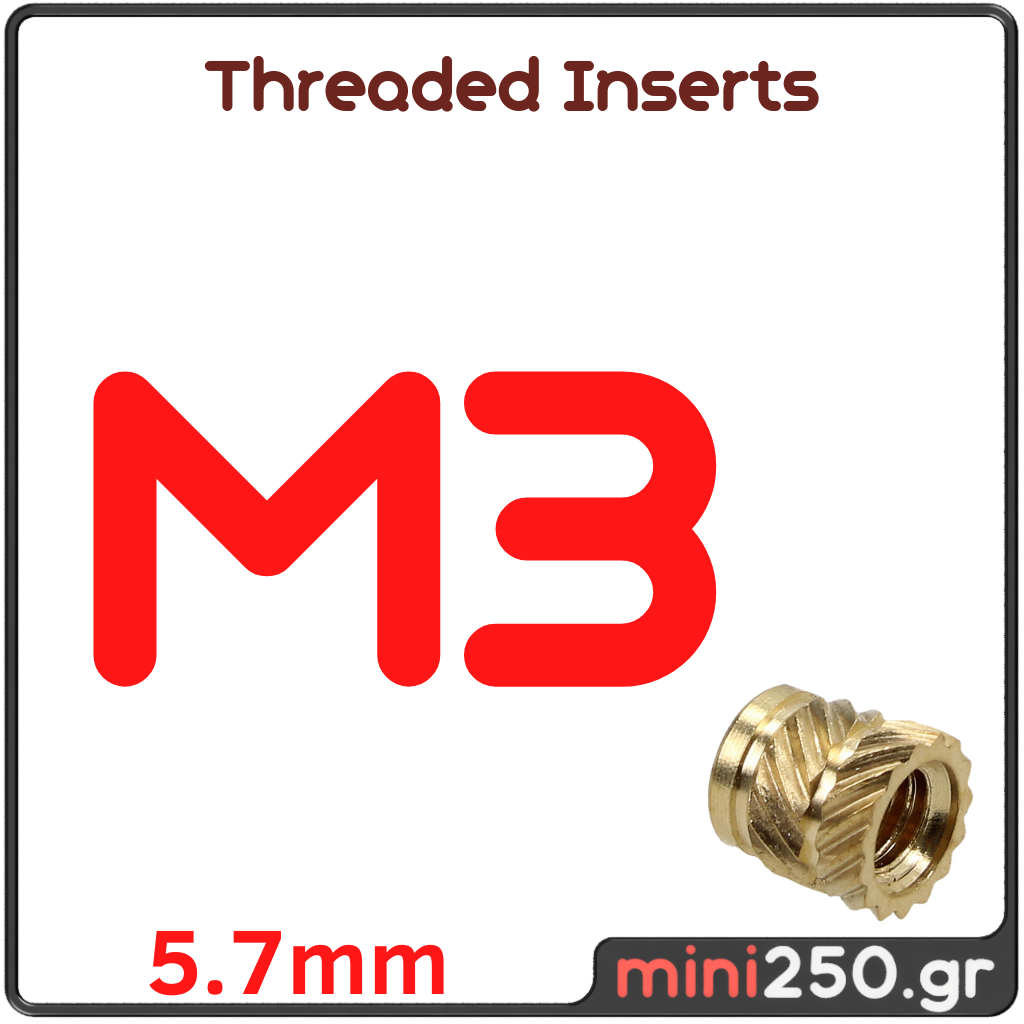
✅ We import real-world components (screws, electronics, modules) into Fusion 360.
✅ We don’t waste time designing parts that already exist!
✅ By doing this, we can design around real components for accuracy and consistency.
📌 3. File Management 📂
⚠️ Attention!
🔹 The library file is NOT the same as the product file!
🔹 The product file is a separate assembly, into which we import our library components.
💡 This helps you understand the difference between Bodies & Components in Fusion assemblies!
📌 4. Designing the Product 🏗️
🔹 We use offset and constraint techniques to create the basic shape.
🔹 We don’t just start drawing random lines!
🔹 The goal is to create a clean and functional design that makes sense.
📌 5. Assembly Management ⚙️
✅ We carefully decide where to place screws and supports.
✅ We consider how forces act on the object!
✅ In this specific design, screws are placed strategically to save space while maintaining structural integrity.
📌 6. Demo Parts & 3D Printing 🖨️
📌 First print = NEVER perfect!
📌 I usually need 2-3 test prints to get the correct fit.
📌 Don’t stress if your first prints don’t work – this is normal!
💡 The key is to understand what went wrong and fix it.
📌 7. Tolerances & Adjustments 🔍
📌 We leave gaps (tolerances) between printed parts and electronic components.
📌 Not all machines have the same accuracy – adjust tolerances accordingly.
📌 After the first test print, fine-tune tolerances based on real-world results.
🏆 Extra Bonus: Personal Coaching!
📞 With the purchase of this Fusion 360 file, you also get a 1-hour personal coaching session with me!
💡 To make the most out of the lesson:
✔️ You must have already printed 1-2 test parts.
✔️ You must have the required components in hand so we can discuss tolerances and assembly.
🚀 Ready to Get Started?
If yes, click the button, download the file, and dive deep into professional 3D design workflows! 🎯🔥

")
")
")
")
")
")
")
")
")
")
")
")
")


